Let's first see the photos:
Part 1
The light is 3 feet from the side of the subject, right to the camera. There is no diffuser. I took 5 photos of 5 exposers:
 exposer -2
 exposer -1
 exposer 0
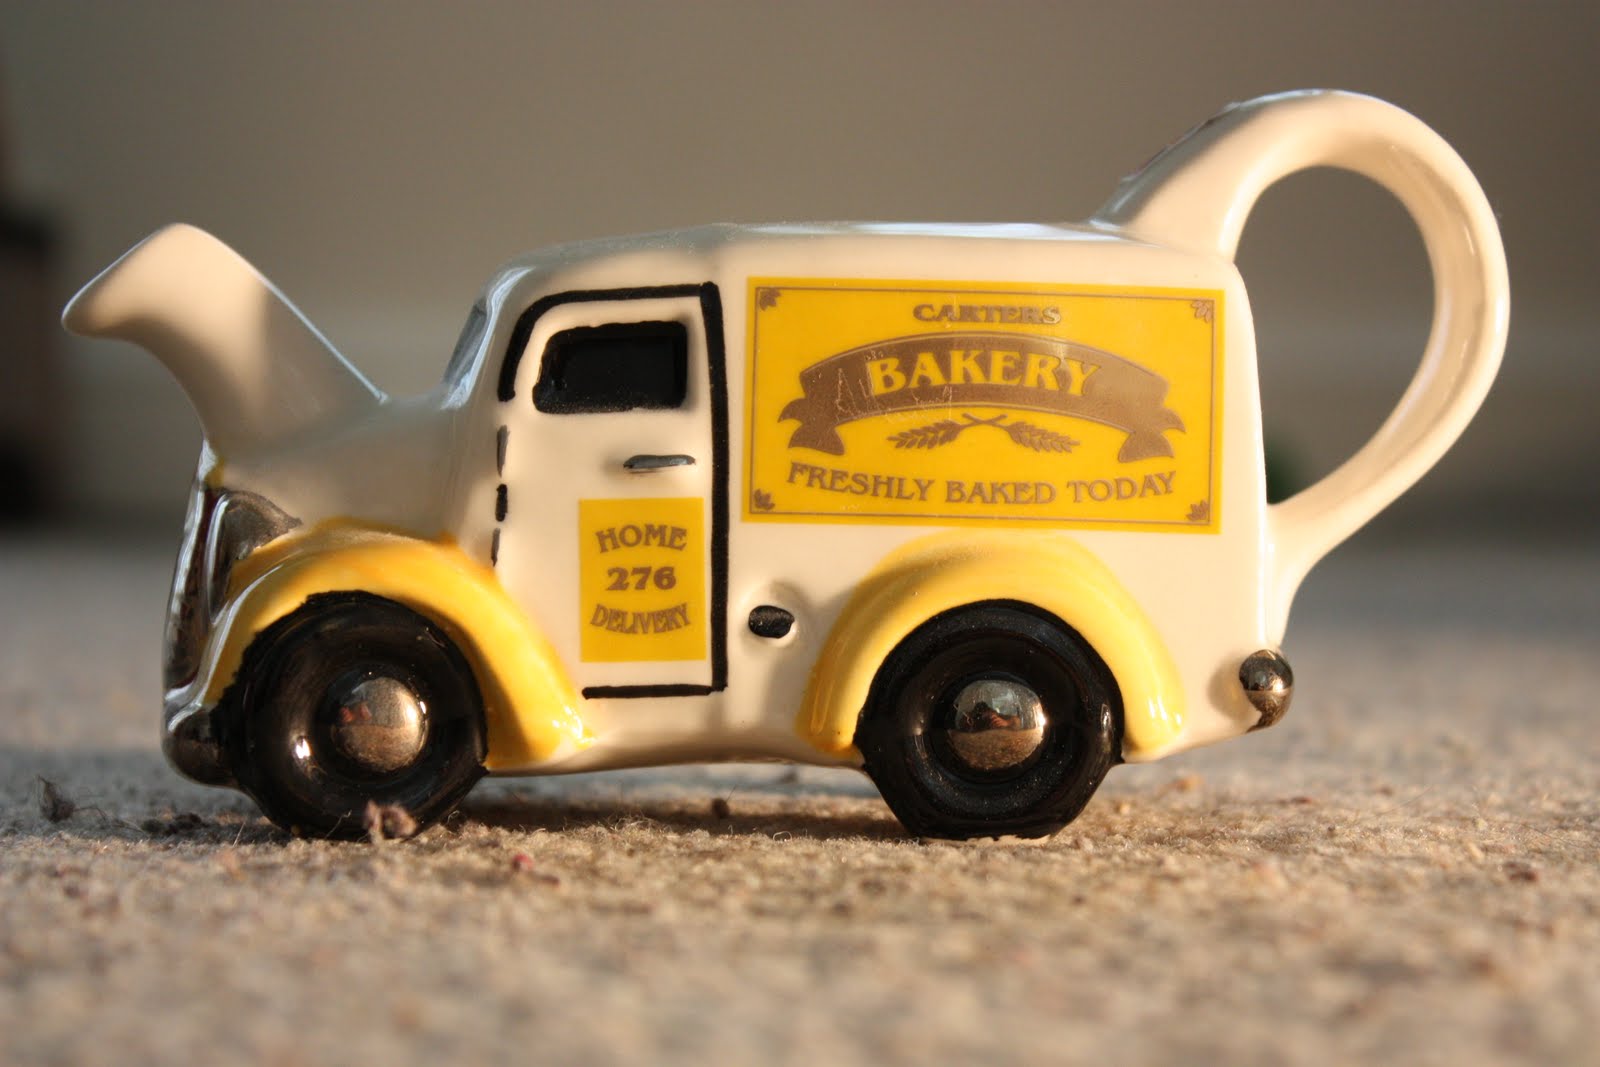 exposer +1
 exposer +2
Part 2
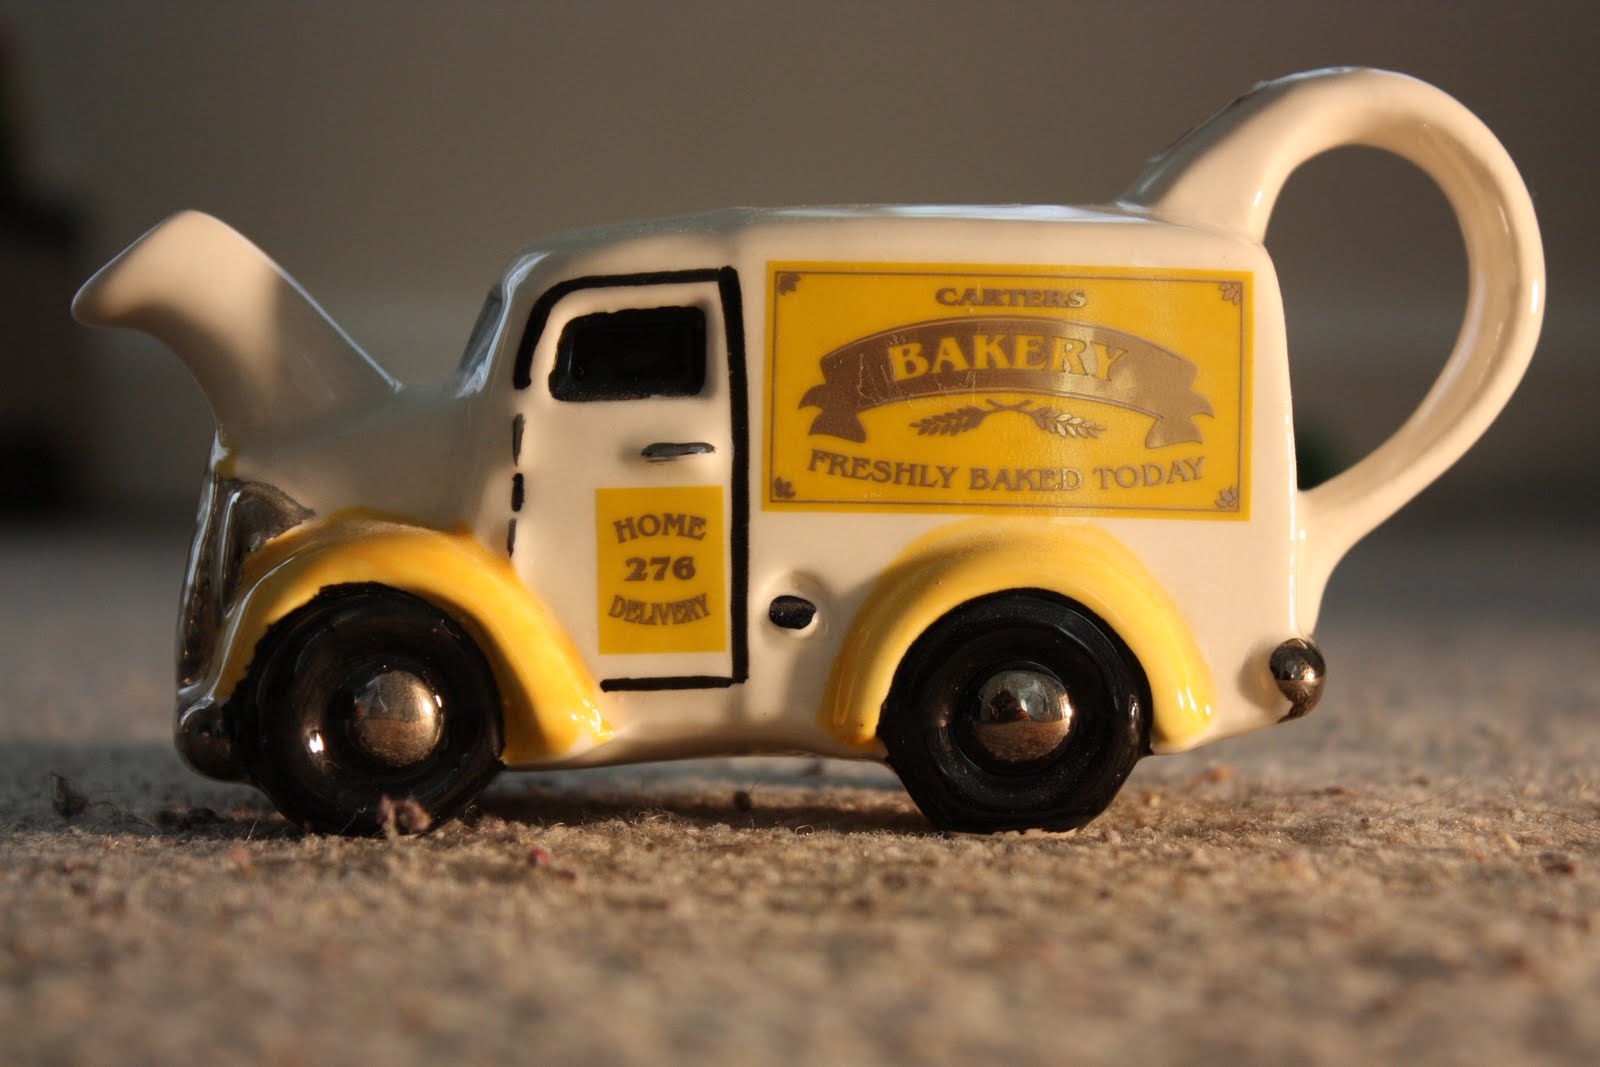
The light is 3 feet from the side of the subject, right to the camera, with diffuser. I took 5 photos of 5 exposers:
 exposer -2
 exposer -1
 exposer 0
 exposer +1
 exposer +2
The difference between the photos with diffuser and the one without is so clear! The photos with the diffuser have the same amount of light in all of the elements (i.e. if the whole photo is dark, all the elements in the photo will be as dark as the whole) and you can't really tell where the light coming from. there is no contrast. The photos without the diffuser will show us clearly the contrast between the lit elements and the not-lit ones, like the front of this 'lorry-kettle'.
Part 3
The light and camera are in the same positioning, and a white carton has added directly infront of the light:
 The carton is 3 feet from the subject
 The carton is 1.5 feet from the subject
The photos are slightly less contrast than the photo without diffuser, and the whole photos are more lit.
Part 4
I have added an aluminum foil on the carton.
 shiny cover
 dull cover
 'crumbled and smooth again' cover
Again, the contrast is smaller than the first photos with no diffuser, and there are changes in contrast between the aluminum stats - the crumbled and smooth again' cover made the biggest contrast, while the dull made the smallest.
I think the best lighted photo is the mid-exposer when the light is 3 feet from the side of the subject, right to the camera, with diffuser. This photo brings the whole subject in the right light with not to much light.